
Having a free resources library as an opt-in incentive has become very popular in the blogging and online entrepreneurial world recently, and for good reason.
One of the main reasons for this is the rise in popularity and demand for blog posts with content upgrades. The trend in blogging now is quality not quantity. People want to read blog posts that provide them with value and tangible results. Adding content upgrades such as worksheets, templates and cheatsheets is a great way to do this.
When you start adding content upgrades to your post the question becomes how do I store, organise and easily deliver all this cool free stuff to my readers.
The answer is a free resource library!
It's a win-win. A free resource library is an easy and convenient way for both you and your readers to access all your free goodies in one place.
So now that I've got you all excited about creating a free resource library, let me show you how to do it.
This is part 1 of a 2 part series. In this first part I'm going to show you how to set up your resource library on your website and in Part 2 I'll show you how to deliver access to your library to your readers and grow your email list at the same time!
Don't like reading? Watch the video of this tutorial instead where you get an inside look at me setting up my own Free Resources Library.
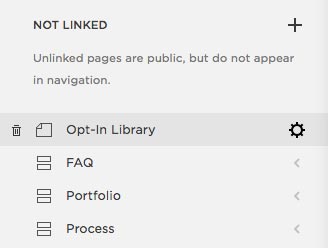
1. Create Free Resources Library Page
In the Pages menu, click the plus sign next to 'Not Linked' and select page

2. Name your page
Type in the name of your library page under Page Title and hit 'Start Editing'.

3. Add page content
Add text, images, buttons etc to your page as normal then hit save in the top left hand corner.
Want to see exactly how I added content and laid out my Free Resources Library? You're in luck because I recorded it live.
3.1 Add PDF Downloads
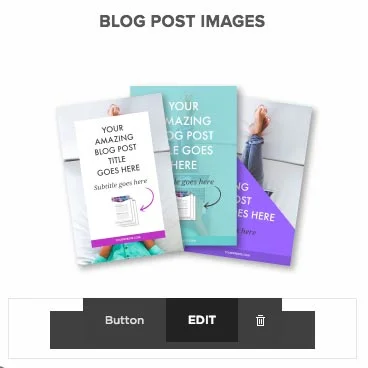
To add PDF downloads you can either add a little image or a button and link the image/button to a file.
i. Hover over image or button and hit edit
ii. In the pop up window click the Clickthrough URL field

iii. Select the Files tab along the top and then select New File. Click the grey arrow in the white box below to upload a new file.

iv. Find the file you wish to upload on your computer and select open

v. Once the file has uploaded, the Existing File tab will be automatically selected and your new file should be at the top of the list selected in bold text. Click Apply

vi. Repeat this process for all remaining files in your library.
4. Password protect your page
Find your library page in your unlinked pages and click on the gear icon on the far right.
In the pop up window scroll down to the Password field and enter in the password you want to set in order for people to access the page and hit save.
TIP: Make sure you write the password down somewhere so you don't forget it yourself!

If you learn better from video and want to watch an in depth, step-by step tutorial of me setting up my Free Resources Library then be sure to check out the video tutorial
Now that you've got your free resource library set up on your website it's time to give people access to it. Stay tuned for Part 2 where I'll be showing you how to hook it up with ConvertKit.
P.S. Just in case you're wondering, I have not made my Free Resource Library available just yet as I need to set it up in ConvertKit myself! It will be available soon so keep your eyes out for that also.
